Repairs · Oshawa
Garage Door Perimeter Weatherstrip
The new door went in last year and looks perfect, but the old wooden stop and its tired seal were left in place.
In plain words
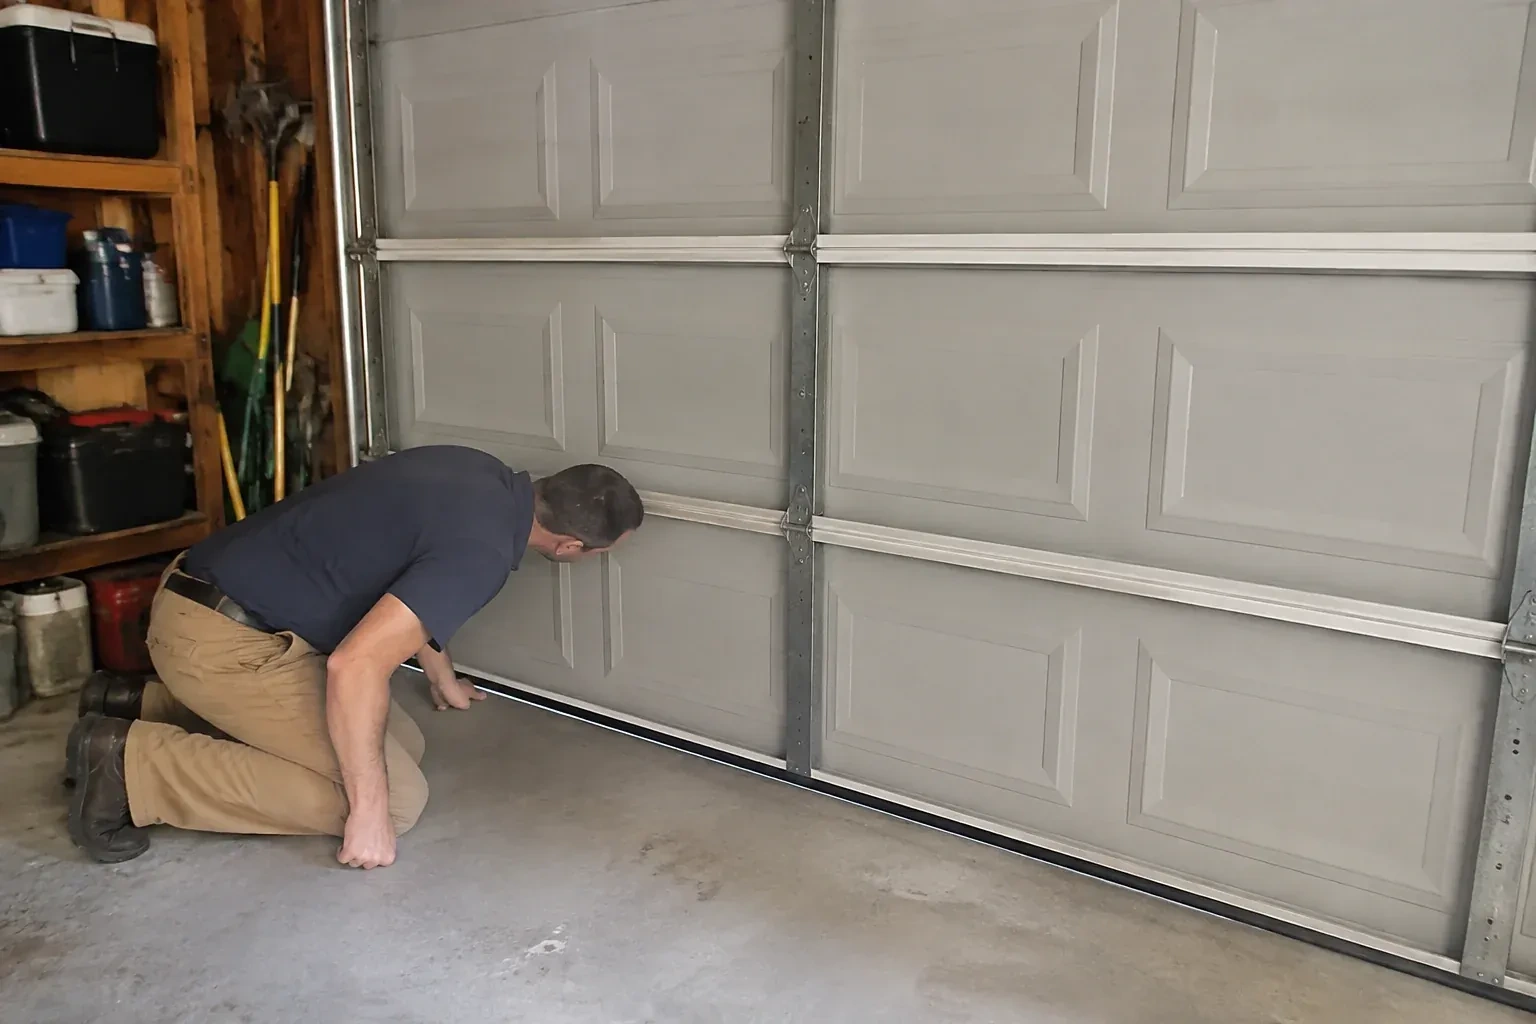
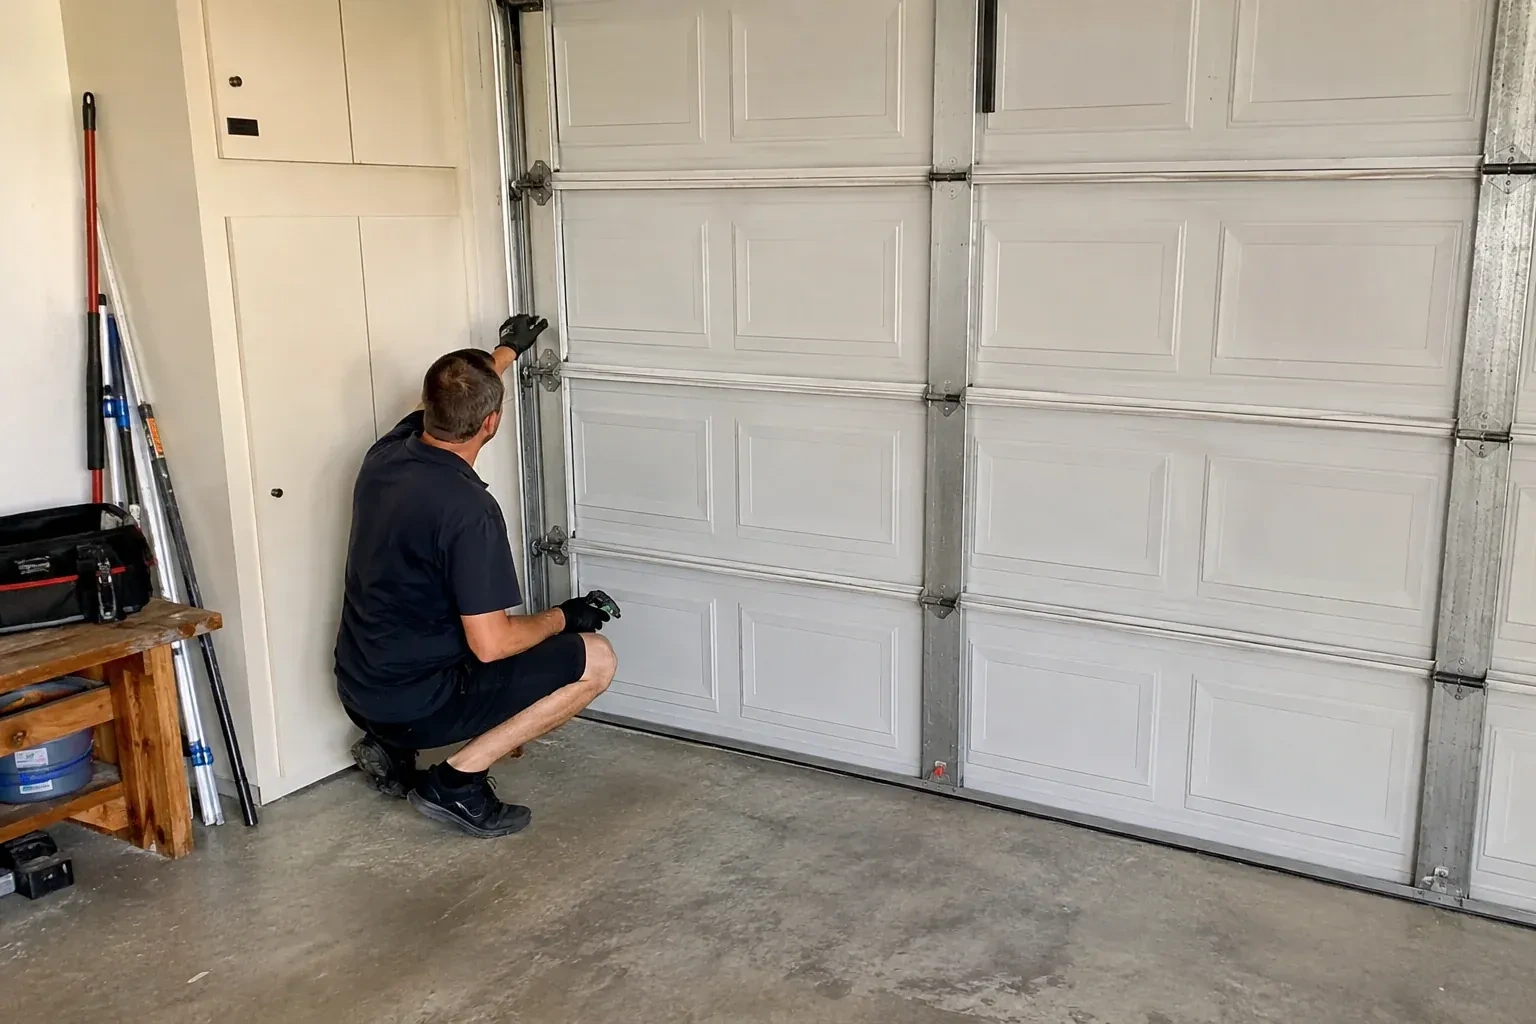
The job follows a steady order. First the door is closed and the gaps are found from inside, by daylight and by feel. Then the door itself is checked for how it sits in the opening, since a seal only works against a door that is square to the frame. The jambs and header are inspected for rot and for how the old strip is fixed. The old material comes off, the surface is cleaned and repaired where needed, the header piece is fitted first and the sides after it, and the door is cycled several times to confirm nothing catches. You are shown the result with the lights off.
How the visit goesA length of weatherstrip along the right jamb has pulled away, nails and all, and it slaps against the trim every time the wind picks up. The wood behind it is dark and soft where it meets the floor.
Garage Door Perimeter Weatherstrip
How the visit goes
Measuring for the new pieces
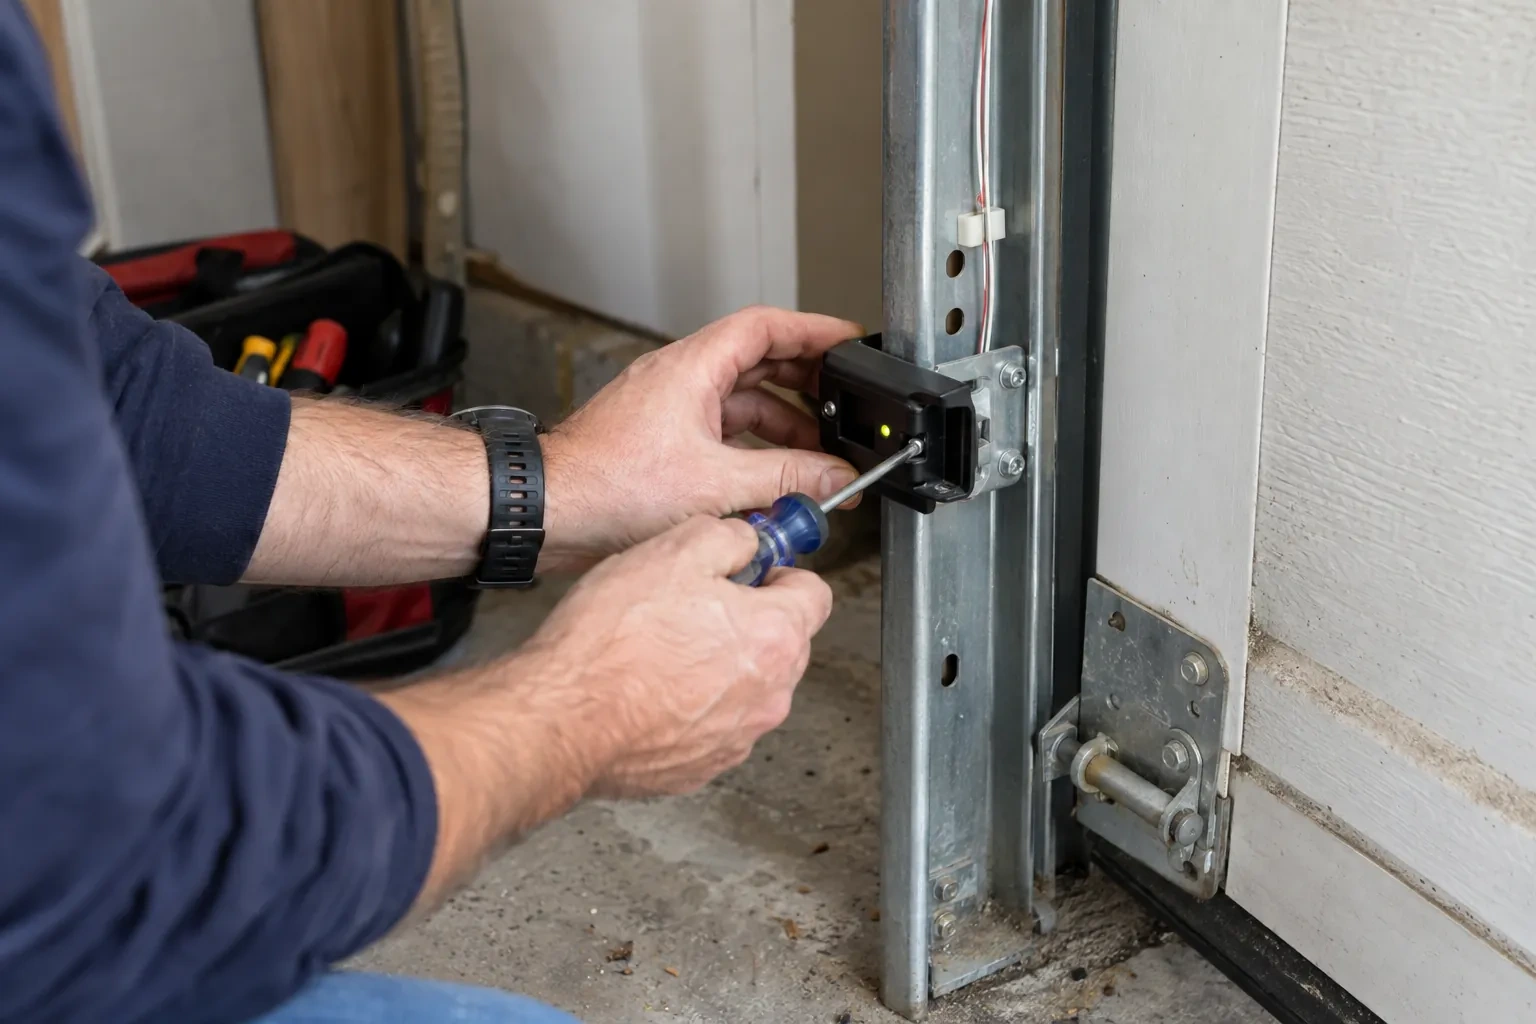
With the door closed, the header is measured across the full width of the opening and each side from header to floor, because openings are rarely the same on both sides. The profile is chosen to match the gap: a wider fin for a door that sits a little back from the stop, a narrower one where the gap is slight, and a one-piece stop where the wood is going. Colour is matched to the trim from a range of standard finishes. The technician also notes whether the existing stop projects far enough to cover the door edge, since a stop set too shallow leaves the fin working alone.
Cycling the door and sealing the joints
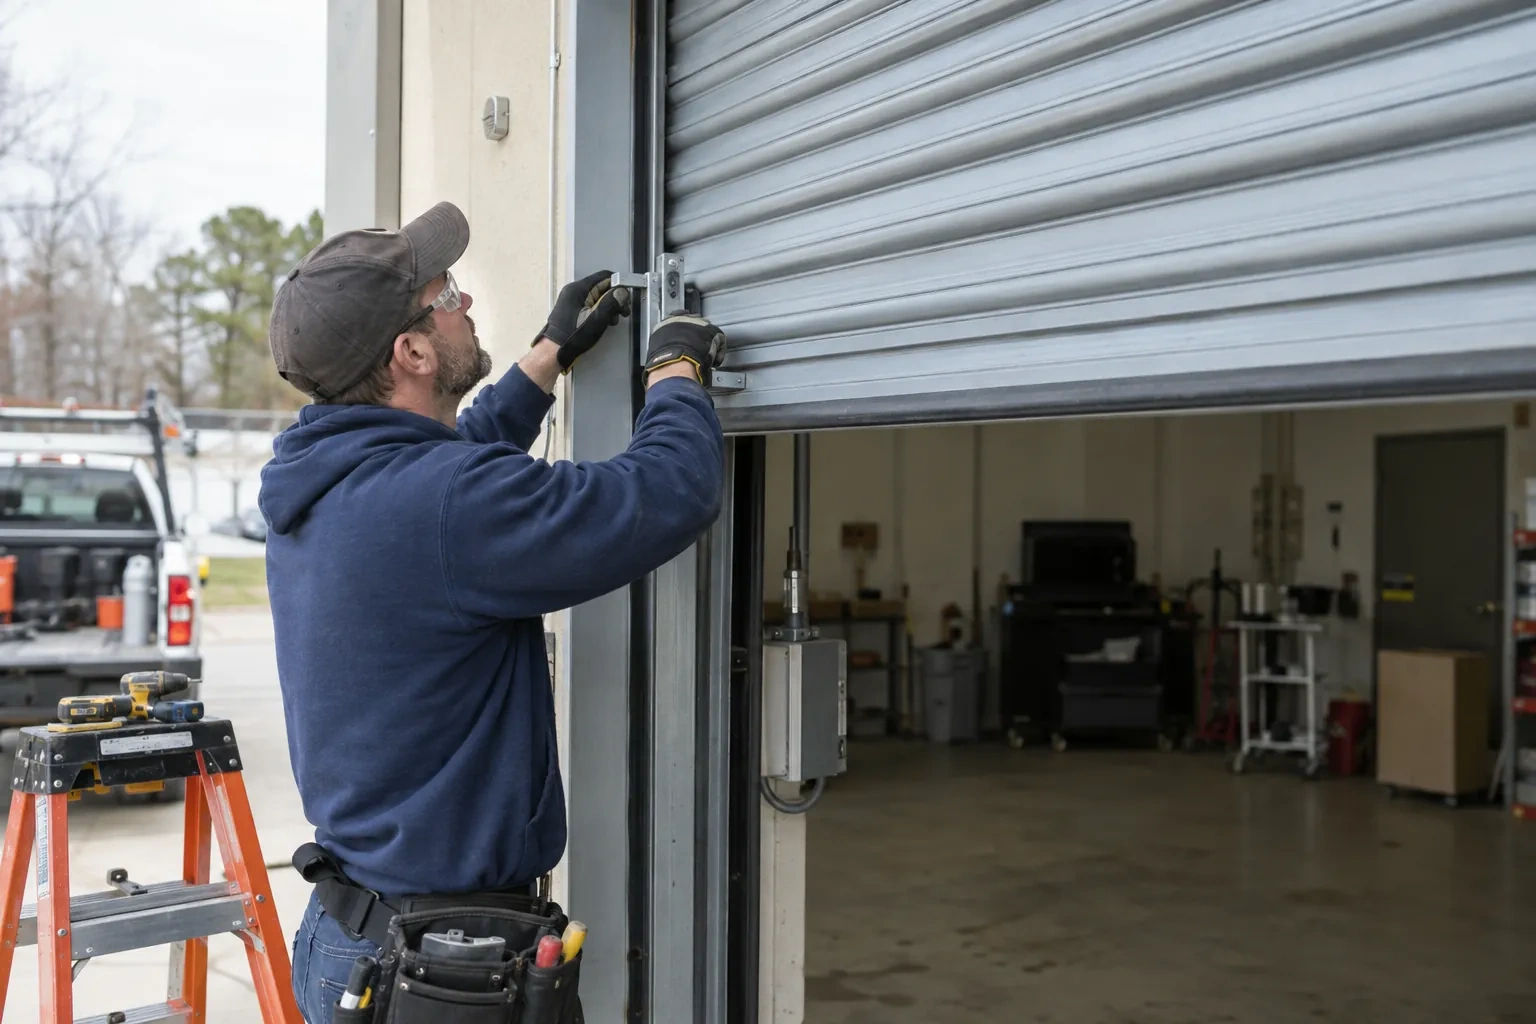
Once all three lengths are on, the door is run through several full cycles by hand and then with the opener, while the technician watches each fin for catching, folding or rubbing and listens for a squeal. The daylight test is repeated from inside with the lights off. Any joint between the new stop and the trim or brickmould where water could get behind is caulked with an exterior sealant, and the fin is wiped with a silicone spray to cut the odds of ice bonding it to the door. The old material is bagged and removed, and the household is walked round the finished opening.
A continuous line of contact
The change is visible the moment the lights go off: no bright edge down either side, no glow along the top. From outside, the new stop or fin sits flush and matches the trim. When the door closes, the fin bends gently against it along its whole length and springs clear as it lifts, without a squeal or a drag. Snow that used to drift in along one side is largely kept out, and the garage stays quieter on a windy night. If a jamb was repaired, the fresh wood or PVC at the base is primed and painted so it reads as part of the frame rather than a patch.
Garage Door Perimeter Weatherstrip
In the van
Epoxy consolidant and exterior primer
Exterior screws and weatherproof staples
Aluminum retainer and rubber insert
Jamb repair lumber or PVC trim
Exterior caulking and gun
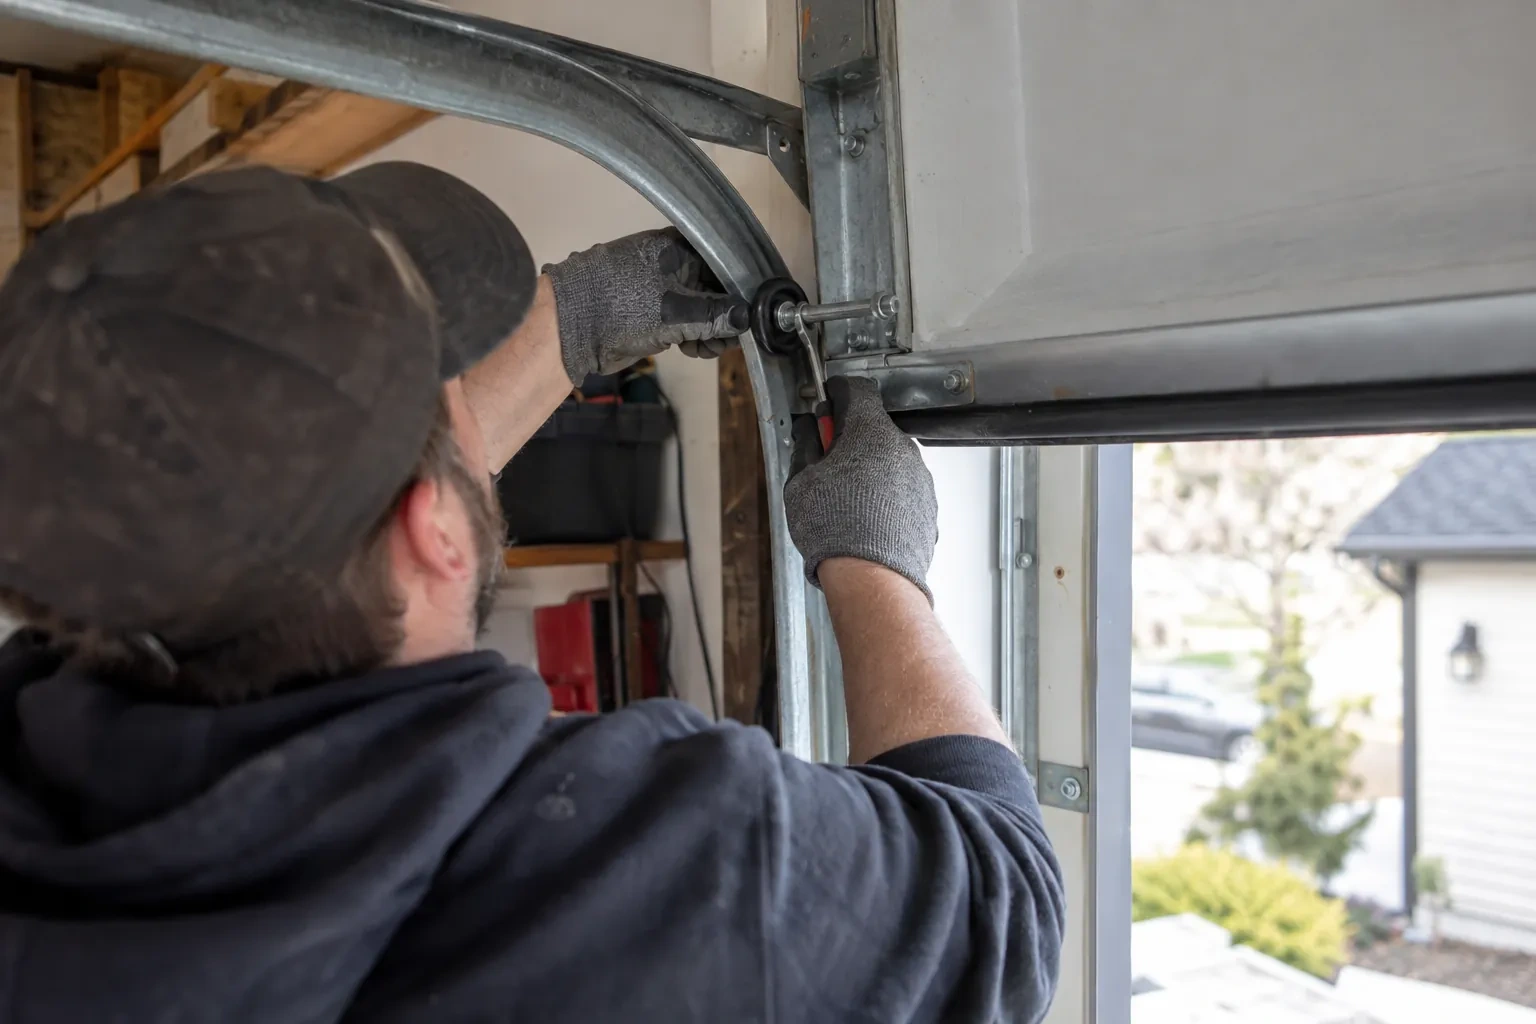
Garage Door Perimeter Weatherstrip
What affects the quote
Jamb material
Wood jambs take nails; steel or aluminum-clad jambs need screws and sometimes a backing piece, and masonry openings need a different fixing altogether, each with its own time and hardware.
Fin on the existing stop or a one-piece vinyl stop
Nailing a new fin to a sound wood stop uses less material than replacing the stop with a one-piece vinyl moulding, which costs more as a part but needs no paint and does not rot.
Doing the bottom seal at the same time
When the bottom seal on the door is also worn, renewing it during the same visit is offered as a separate line and saves the cost of a second call.
What to have ready
- Is anything stored against the jambs, or a car parked close to the opening?
- Has the door recently been replaced or adjusted?
- Have mice, leaves or water been getting in?
Garage Door Perimeter Weatherstrip: questions
QuestionsWill replacing the perimeter seal keep mice out?
It closes one of their favourite routes. Mice enter at the open corners where the header and side seals meet and along a fin that has shrunk back from the door, so a continuous, overlapped seal removes those gaps. It works alongside a sound bottom seal, a swept threshold and attention to any other openings in the garage wall, and a technician will point out any of those noticed during the visit.
What information helps when I book?
The size of the door and whether it is single or double, where you see daylight or feel drafts, whether the existing seal is a strip on a wood stop or a one-piece moulding, the colour of the trim, whether the wood near the floor feels soft, and whether the garage is attached or heated. Photos of the closed door from inside with the lights off, and of each corner from outside, are very useful.
Why should the seal only touch the door lightly?
The fin is meant to bend against the door with a small, even deflection. That is enough to seal, and it lets the fin spring clear as the door lifts. Pressed hard, it drags on the door face, folds under on the way down, squeals and wears through well before its time, and it adds load to the opener. Set too far off, it leaves a standing gap. The light touch is the setting that lasts.
Related services
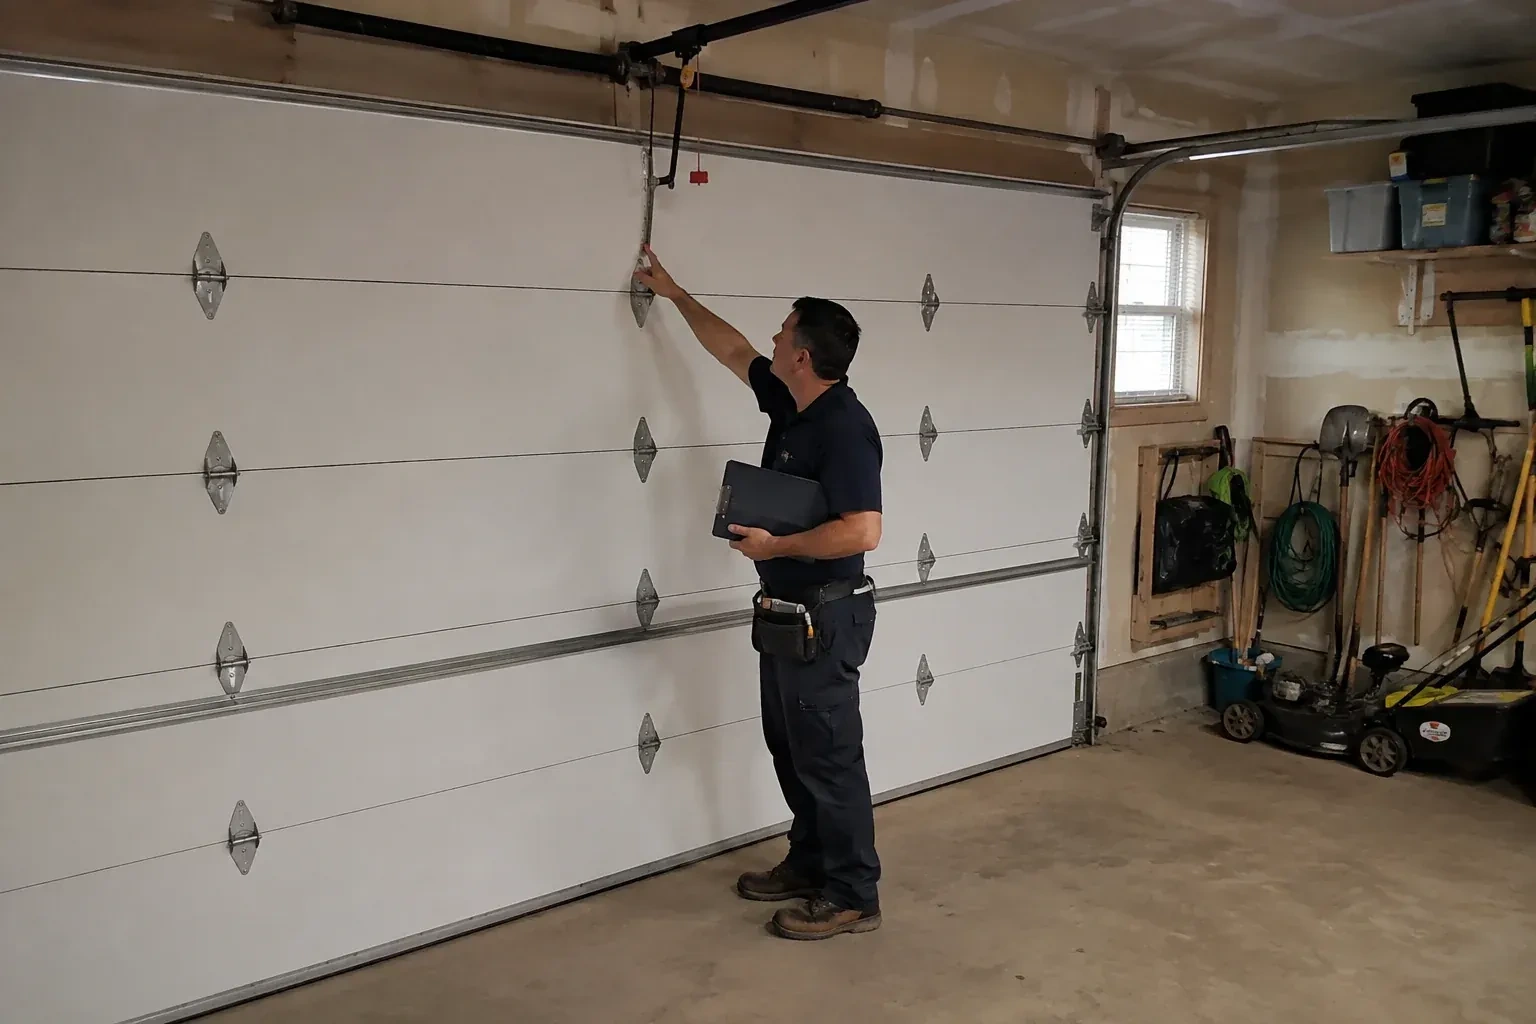
- Garage Door Tune-UpThe door lands with a thud you can feel through the kitchen floor, and sometimes it bounces back up a few centimetres before settling.
- Off-Track Garage Door ResetOne side of the door hangs a hand's width lower than the other.
- Garage Door Panel ReplacementFrom outside, the horizontal groove between two sections now steps sideways by a centimetre.