Repairs · Oshawa
Garage Door Perimeter Weatherstrip in Oshawa
The new door went in last year and looks perfect, but the old wooden stop and its tired seal were left in place.
In plain words
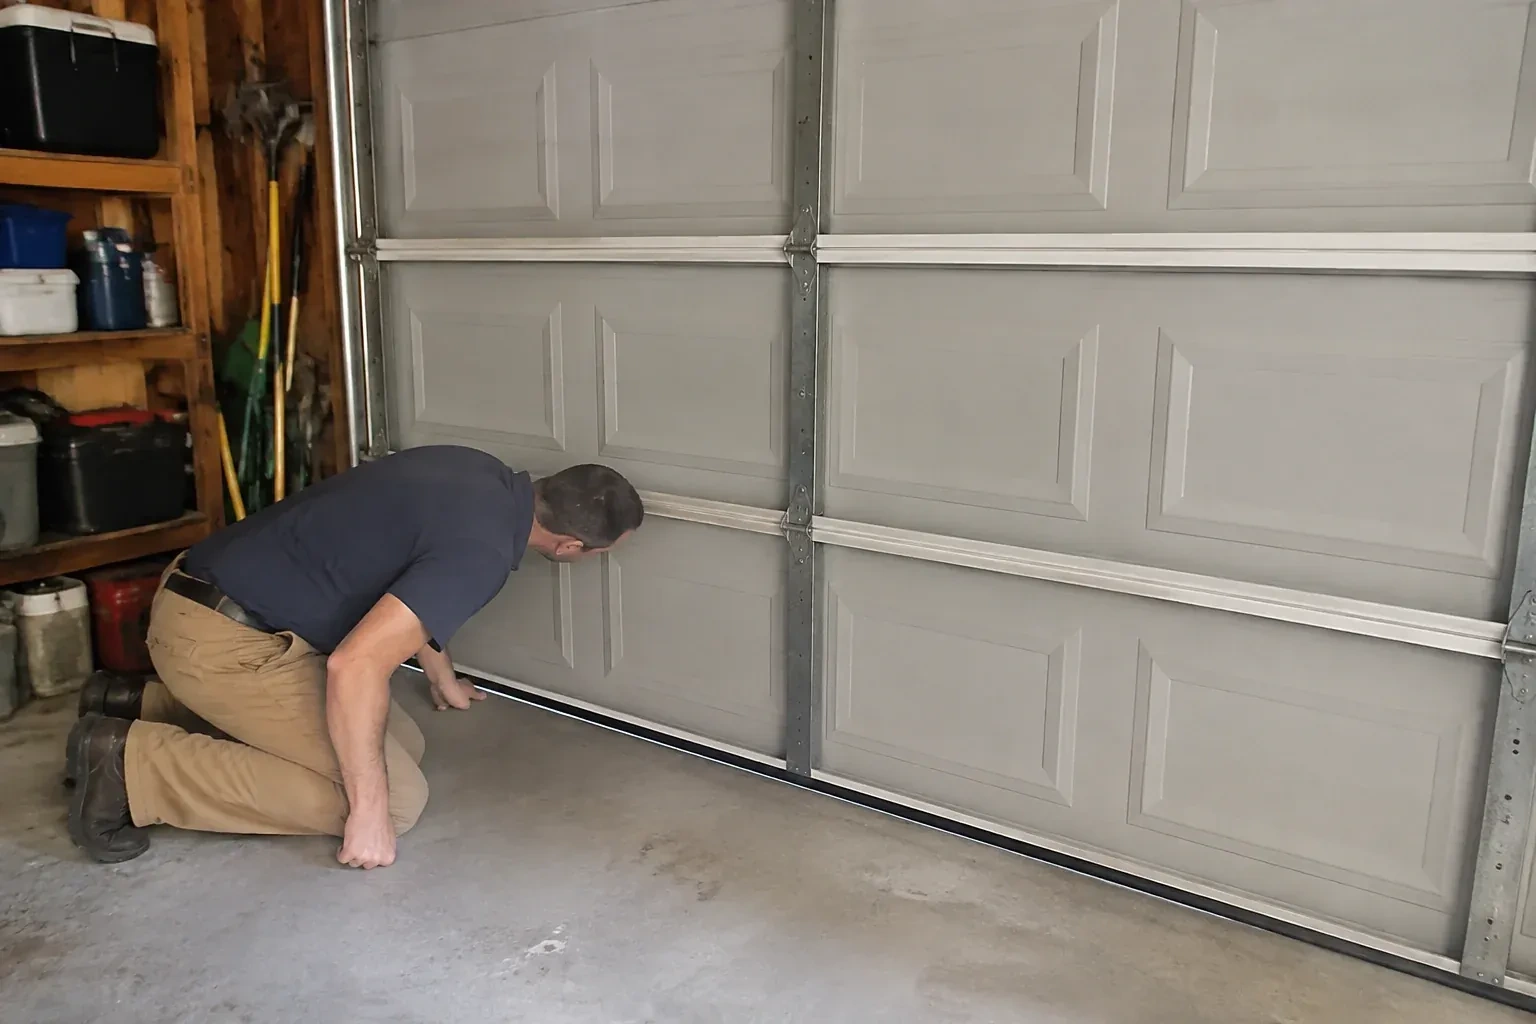
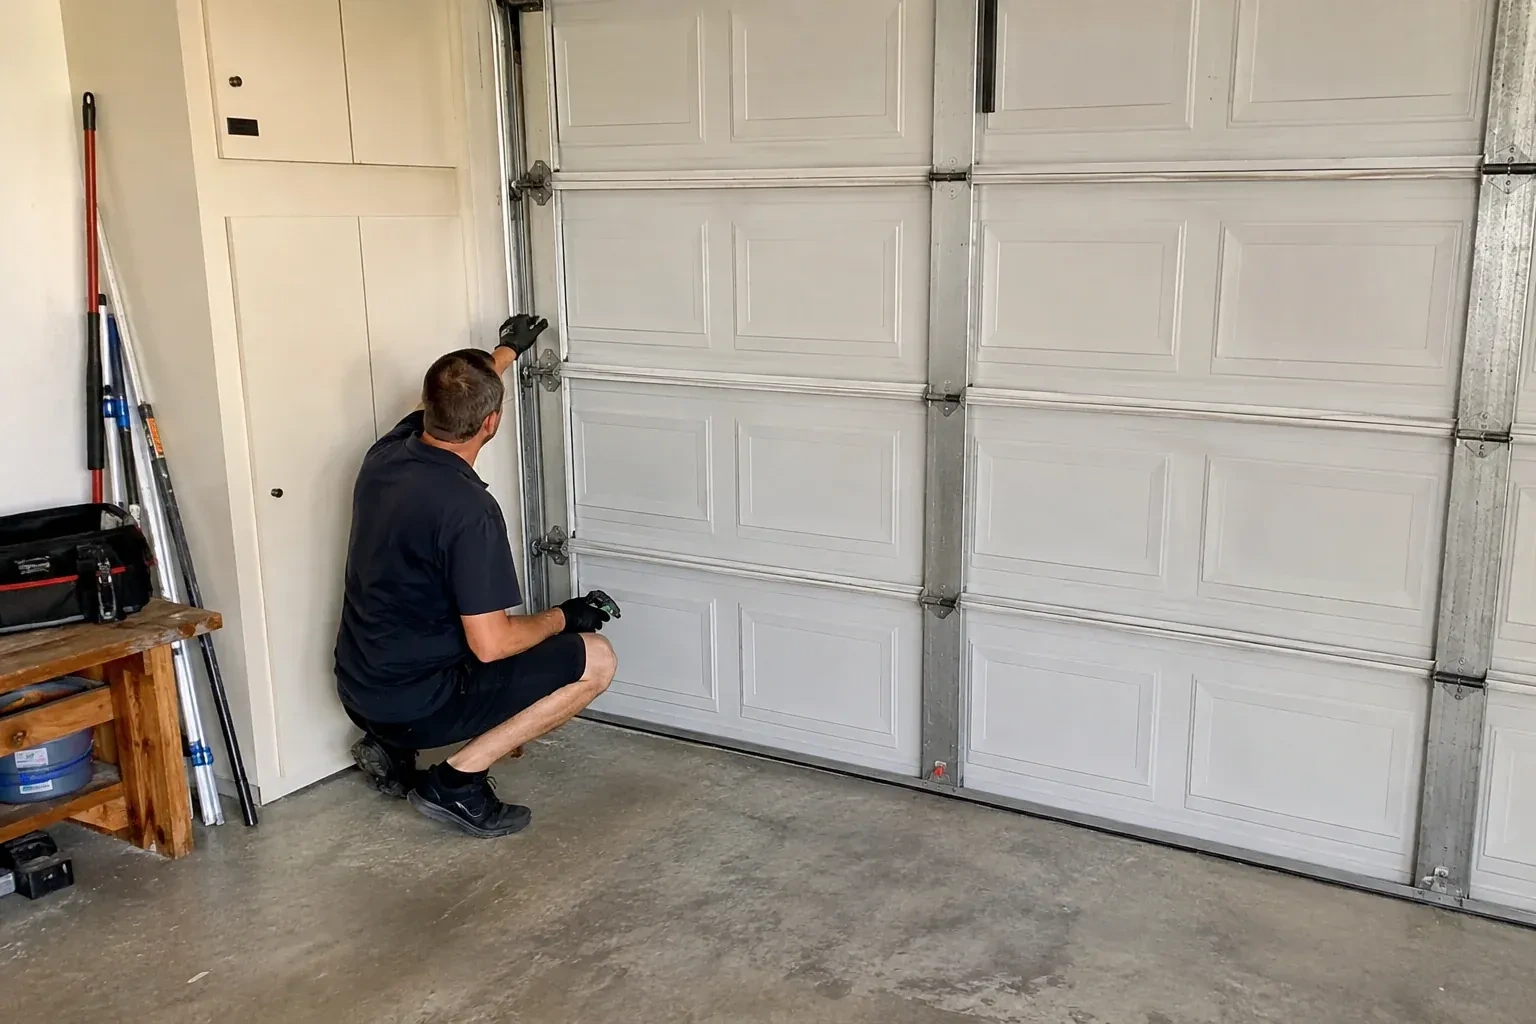
The job follows a steady order. First the door is closed and the gaps are found from inside, by daylight and by feel. Then the door itself is checked for how it sits in the opening, since a seal only works against a door that is square to the frame. The jambs and header are inspected for rot and for how the old strip is fixed. The old material comes off, the surface is cleaned and repaired where needed, the header piece is fitted first and the sides after it, and the door is cycled several times to confirm nothing catches. You are shown the result with the lights off.
How the visit goesThe vinyl strip around the door used to be soft and white. Now it is grey and hard, cracked every few inches, and a piece near the corner snaps off in your fingers. It no longer bends toward the door at all.
Garage Door Perimeter Weatherstrip
How the visit goes
The corners and the meeting with the bottom seal
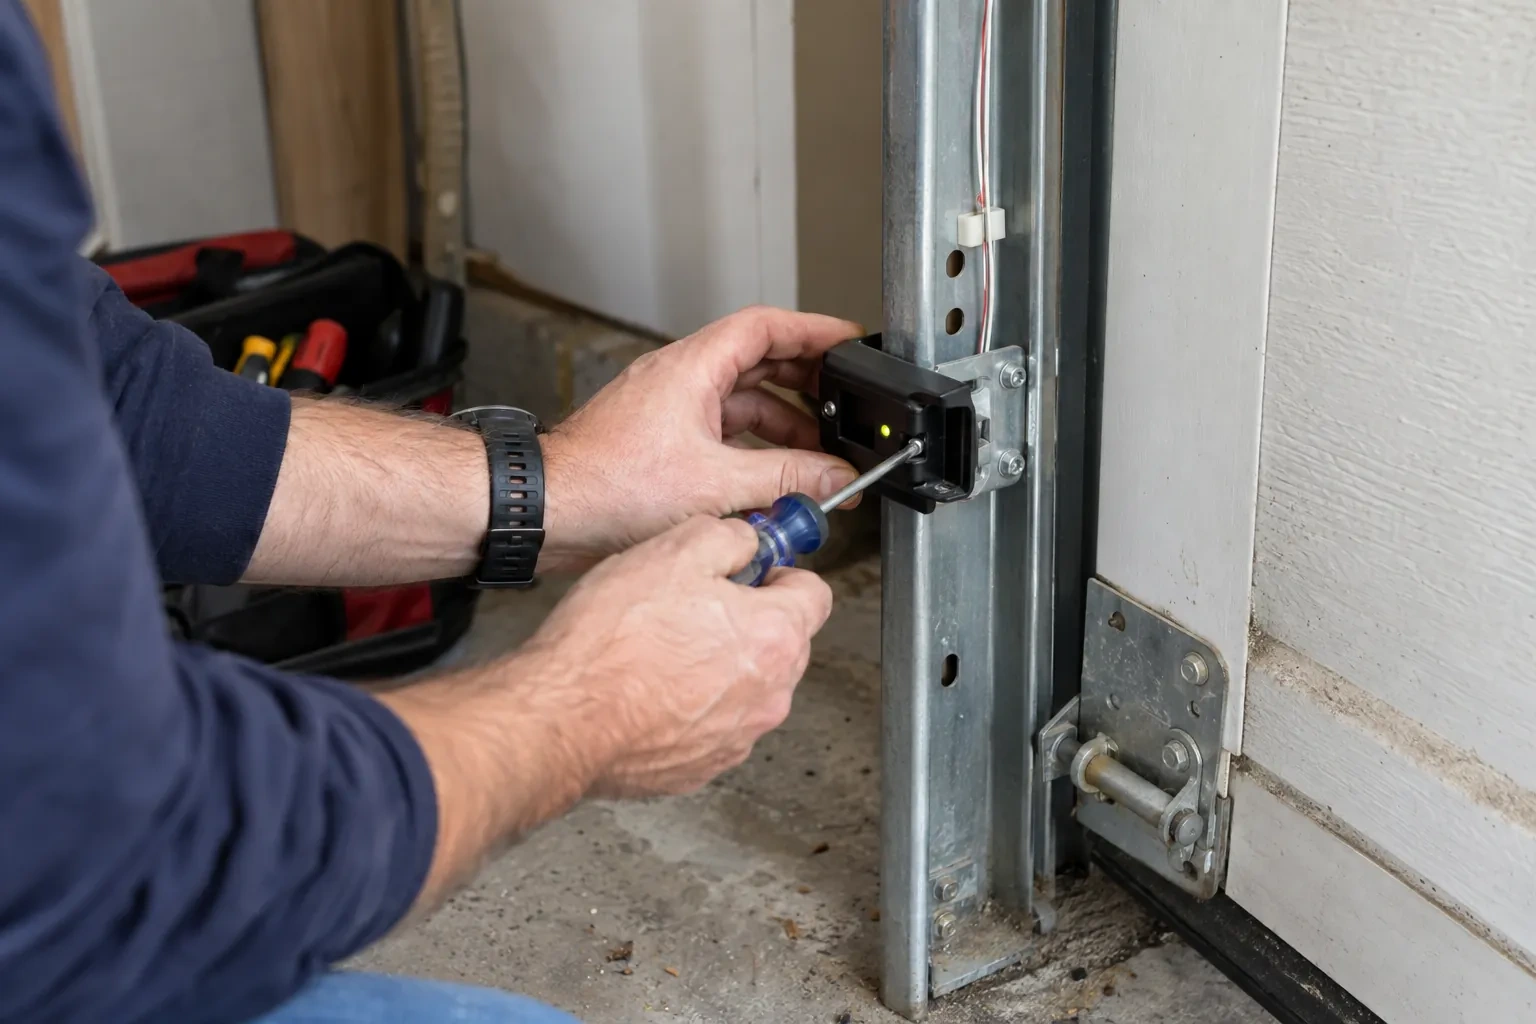
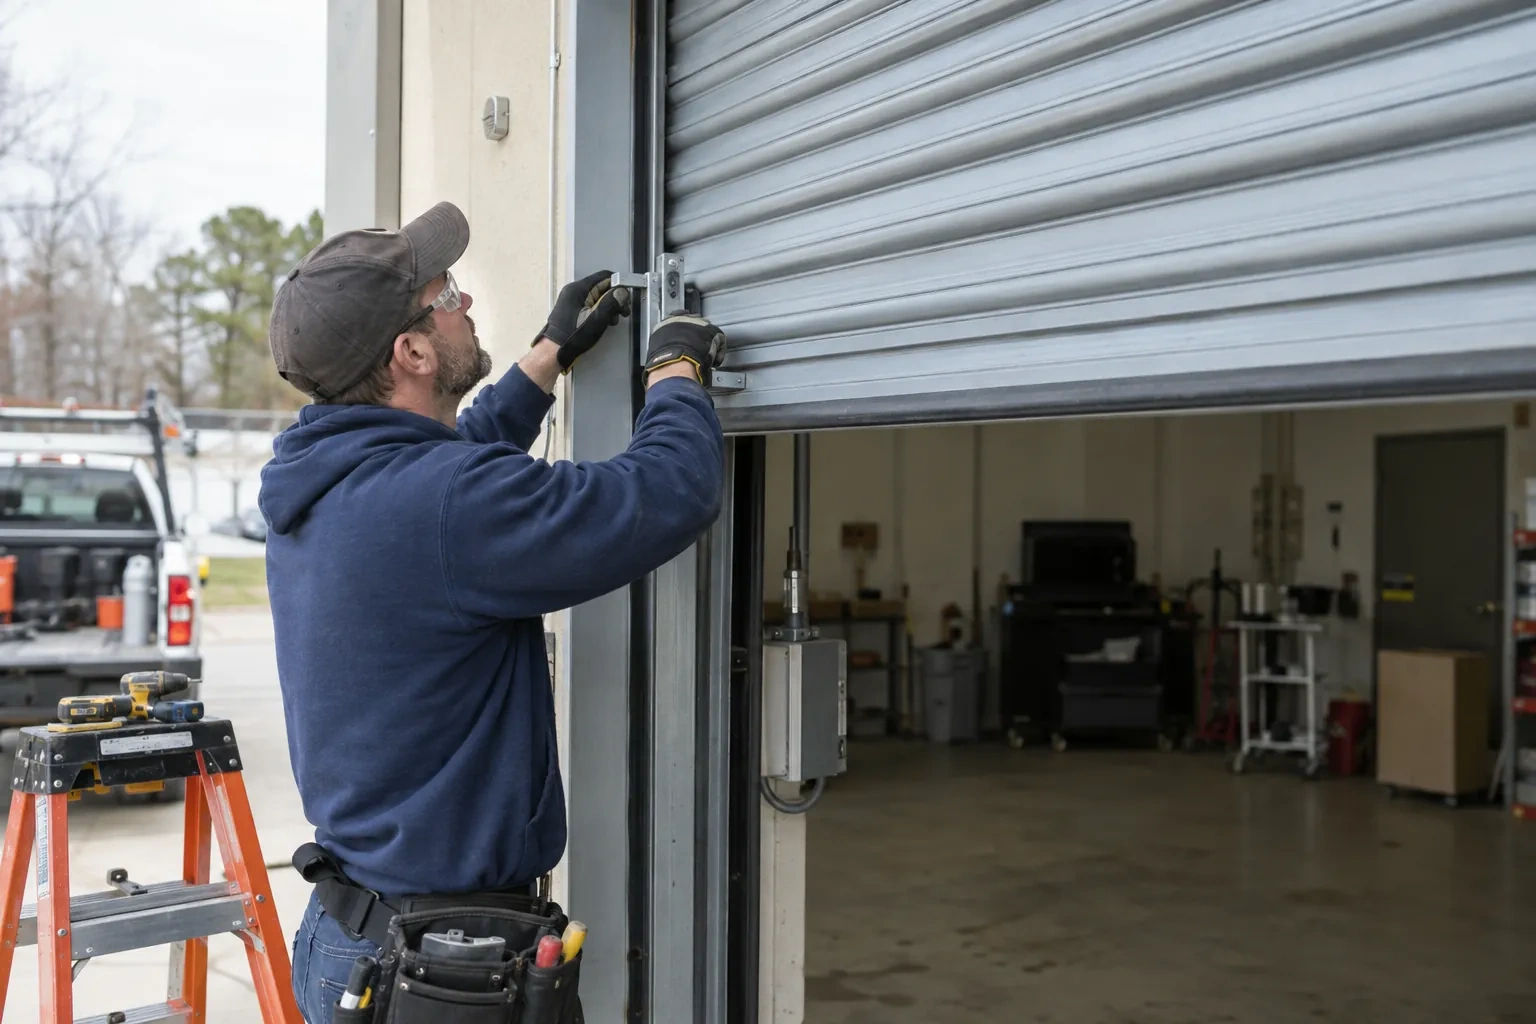
Gaps like to live where pieces meet. The technician looks at both top corners, where the header seal and the side seals should overlap so there is no square hole, and at both bottom corners, where the side seal should run right down to meet the bottom seal on the door. Mouse droppings, leaves and a small drift of snow in one corner are common finds and point to exactly which joint has opened. The bottom seal itself is noted; it is a separate part of the door, but if it is flattened or torn the household is told so both can be renewed in one visit if they wish.
Taking off the old strip cleanly
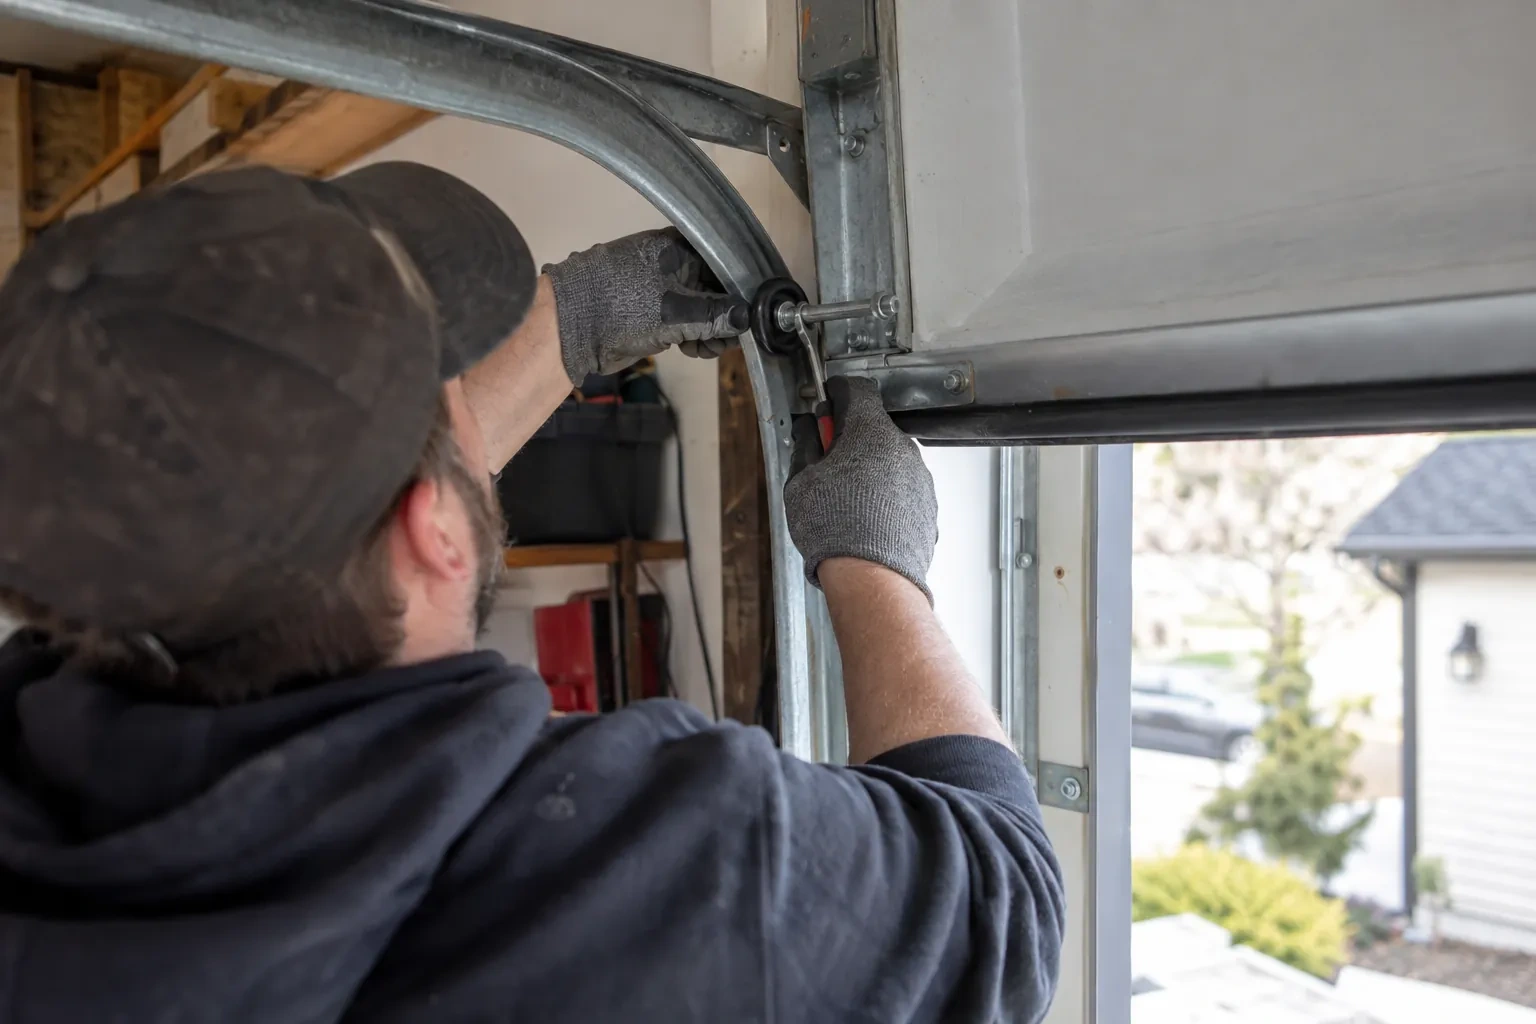
The old fin or stop comes off with a flat bar worked behind it a little at a time, so the trim and any brickmould stay intact. Nails are drawn with end-cutting pliers rather than hammered through, staples are lifted, and any old adhesive is scraped back to bare surface. Where the whole wood stop is being replaced with a one-piece vinyl stop, the stop is freed along its length and lifted out, and the paint ridge it leaves is knocked down so the new moulding sits flat. The bare jamb is brushed clean and any loose paint at the edges is removed before anything new goes on.
Corners that stay closed to pests
With the header and side fins overlapped, the small square holes that mice and wasps used are gone. Keep them that way by checking the four corners each autumn, when animals are looking for warmth, and pressing any lifted corner back into place. The point where the side seal meets the bottom seal on the door is worth a look too, since the bottom seal wears on its own schedule. A clear threshold, with leaves swept away from the door, removes the shelter pests use to work at a corner. Sealing the perimeter is one of the simpler parts of keeping a garage pest-free.
Garage Door Perimeter Weatherstrip
In the van
Epoxy consolidant and exterior primer
Exterior screws and weatherproof staples
Aluminum retainer and rubber insert
Jamb repair lumber or PVC trim
Exterior caulking and gun
Garage Door Perimeter Weatherstrip
What affects the quote
Alignment work on the door
Where the door sits out of square and a track bracket or the door itself needs small correction before the seal can meet it evenly, that adjustment is named separately.
Removing the old stop and paint build-up
Lifting a wood stop that has been painted for decades, scraping old adhesive and knocking down paint ridges takes longer than pulling a loose fin, and the time shows in the quote.
Adding a brush or foam seal to the sides as well as the stop
Some households want only the top and side stop replaced, while others add a brush or foam seal along the same run for a tighter fit against wind-driven snow. That extra material and the time to fit it are agreed before the old stop comes off.
What to have ready
- Have mice, leaves or water been getting in?
- Is the seal cracked, torn, loose, or missing in places?
- Has the door recently been replaced or adjusted?
Garage Door Perimeter Weatherstrip: questions
QuestionsWill replacing the perimeter seal keep mice out?
It closes one of their favourite routes. Mice enter at the open corners where the header and side seals meet and along a fin that has shrunk back from the door, so a continuous, overlapped seal removes those gaps. It works alongside a sound bottom seal, a swept threshold and attention to any other openings in the garage wall, and a technician will point out any of those noticed during the visit.
What information helps when I book?
The size of the door and whether it is single or double, where you see daylight or feel drafts, whether the existing seal is a strip on a wood stop or a one-piece moulding, the colour of the trim, whether the wood near the floor feels soft, and whether the garage is attached or heated. Photos of the closed door from inside with the lights off, and of each corner from outside, are very useful.
Why should the seal only touch the door lightly?
The fin is meant to bend against the door with a small, even deflection. That is enough to seal, and it lets the fin spring clear as the door lifts. Pressed hard, it drags on the door face, folds under on the way down, squeals and wears through well before its time, and it adds load to the opener. Set too far off, it leaves a standing gap. The light touch is the setting that lasts.
Related services
- Garage Door Tune-UpThe door lands with a thud you can feel through the kitchen floor, and sometimes it bounces back up a few centimetres before settling.
- Off-Track Garage Door ResetOne side of the door hangs a hand's width lower than the other.
- Garage Door Panel ReplacementFrom outside, the horizontal groove between two sections now steps sideways by a centimetre.